Starting a new WIP series, partially to help me remember what the heck I did for future reference, and partially to help provide inspiration for others.
In late 2018, I was invited to join a group of eight other gals as Glaceon for an Eeveelutions group based on @dollightfully‘s Eevee doll designs. We wore them to SacAnime Winter 2019 and our group took a Judge’s Choice award in the masquerade. Finishing that project lead us to decide to do it again with plans for Fanime 2020. Our theme this time is @_sunsetdragon_‘s lovely DnD Eevee designs. Glaceon’s the wizard this time, and you’d better believe there’s going to be glitter. Lots of glitter.
The first part of this series of who knows how many posts is how I’m going about making the dress and what I’m using.
The dress is a simple form-fitting knit dress with princess seams. Rather than reinvent the wheel and make my own pattern, I’m modifying Simplicity 1018 to suit my needs, which mostly only involves taking in some seams and doing some slashing on side pieces to accommodate for different fabrics. For the fabrics I’m using a custom dyed (originally white) panne velvet and a lovely glittery silver/blue knit (because glitter) for the main body of the dress, and I’m probably just going to go through my stash for the collar pieces. I’m using the panne velvet because of both the sheen and texture–the costume may be human, but it’s based on a furry creature.
I don’t work with knits a whole lot and was grumpy about having to go buy more fabric to make a mockup before remembering at some point I’d purchased a bunch of black jersey on clearance. Score one for me, and if needed I can use the mockup as a modesty lining.
Step 1: The unaltered mockup
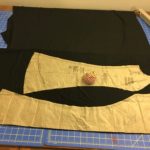
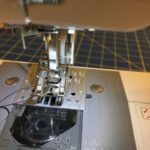
I went ahead and cut out the unaltered pieces in my jersey fabric just to get a basic idea of fit. It’s not 100% accurate as I’ll be wearing a waist cincher in the costume (yay, back problems!) so no muffintop later. And quilters have it right when they say use a walking foot. It makes my life with stretchy fabrics so much easier.
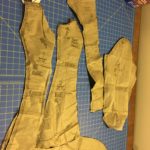
- Glaceon Pattern Placement part 1
- Glaceon Pattern Placement part 2
- Glaceon Pattern Cut
- BEAUTIFUL WALKING FOOT
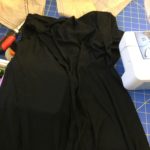
- Glaceon mockup
- Glaceon unaltered mockup back
- Glaceon unaltered mockup front
Step 2: Altering the mockup
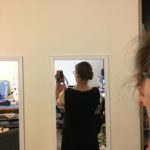
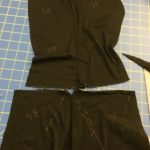
I didn’t bother attaching the sleeves since those aren’t being altered in any way, and the collar I’m going to have to draft after it’s all put together. Since this pattern is designed to drape in a nice fluttery way rather than cling to the curves, I had to take in all of the seams past my hips to get the proper silhouette. This was mostly accomplished by futzy pinning while wearing it, then sewing new seam curves to ensure fit. Once it fit the way I wanted it to, I went ahead and trimmed the excess fabric down to the new seam allowance.
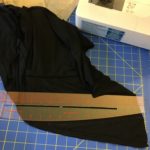
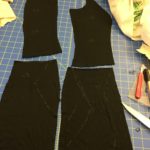
Because the side pieces are a different color above the waist, I had to take this into account. While wearing the mockup, I went ahead and marked the curve while it was on my body. I then got out my handy dandy design ruler (which is an embarrassingly recent purchase as of this writing; why did I not have one before?), marked the proper curve, slashed the pattern, and took everything apart. I didn’t take photos, but I redrew the patterns for the side pieces on paper to add the appropriate seam allowances to the slashed area.
- Glaceon curve mods
- Glaceon Test fit 2
- Glaceon side modifications
- Glaceon side modifications 2
Step 3: Dyeing the fabric
Once all that was done, I went ahead and cut out all of the velvet pieces and prepared them for dyeing. I didn’t dye the fabric beforehand because I don’t have a dye pot big enough–it’s a synthetic fabric and as such must be dyed over high heat. Dyeing after cutting enabled me to throw all of the pieces in the pot at once and thereby making sure I had an even dye lot. I went ahead and did some tests swatches a few days beforehand and played with timing and color mixtures until I found one I liked.
For the main body of the dress and the sleeves, I dyed a white panne velvet with a 2:1 mix of Rit DyeMore Tropical Teal and Kentucky Sky for about a minute. The idea was mostly to just tint the fabric, as it is not a particularly saturated blue. I dyed the offcuts from the pattern pieces with a 3:2:1 mix of Kentucky Sky, Tropical Teal, and Sapphire Blue for about 3 minutes.
- Glaceon Dye Swatches
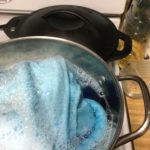
- Into the dye pot!
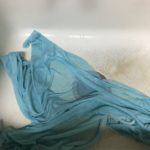
- Out of the dye pot!
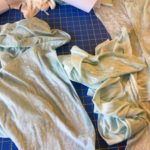
- Post-dye comparison
The fabric on the left is the off-cuts that will become the diamond shapes on the dress, and the fabric on the right will be the body. The diamond fabric is not as dark/saturated as I would like it to be, so it’s going to go another round in the dye pot. I have to do that before I can continue to work on this project, so here’s where part 1 of this WIP ends!




Pingback: WIP: Wizard Glaceon Part 1: The Dress pt 2 – Rhythmic-HIGH